CO2 Workbench
- Typical power
- 40–100 W
- Best starting point
- Wood, acrylic, leather
- Plan for
- Exhaust + cooling

Put CO2 engraving, fiber marking, and handheld laser welding into the same practical conversation—material fit, working area, power class, extraction, and daily workflow included.
Each family solves a different material problem. Use the cards to narrow the first conversation, then validate your material on the intended machine class.
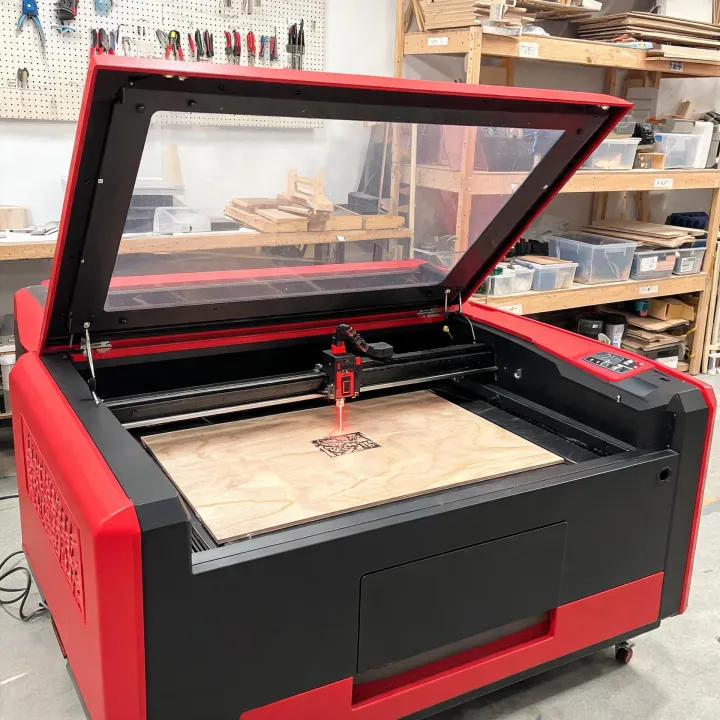
For wood, acrylic, leather, coated glass, and production runs that need a larger bed.
See CO2 options →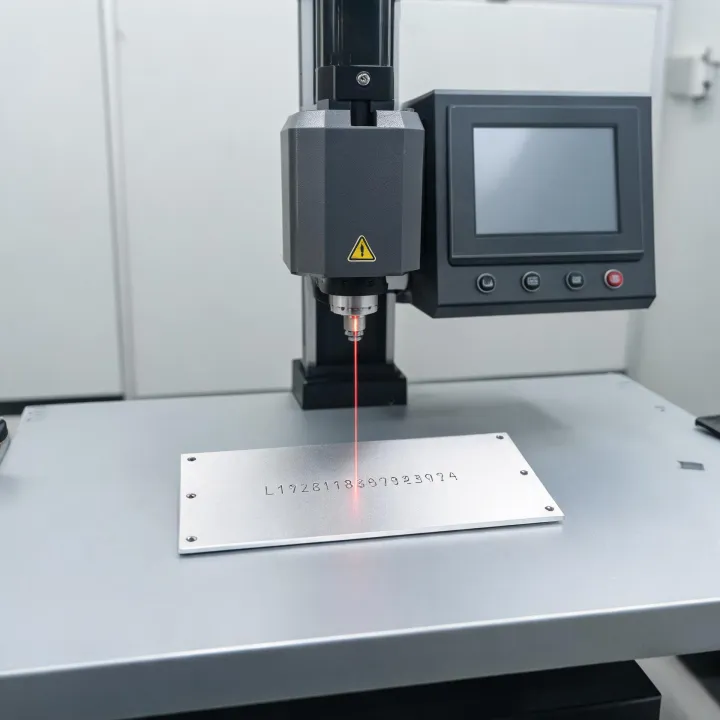
For durable identification, fine graphics, barcodes, and controlled contrast on compatible metals.
See marking options →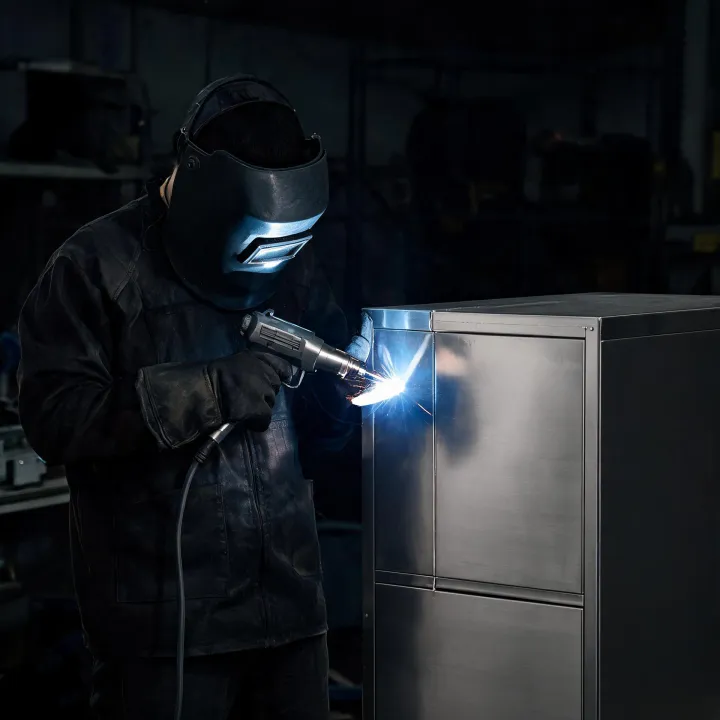
For trained teams evaluating heat input, seam access, shielding gas, and repeatable joint preparation.
See welding options →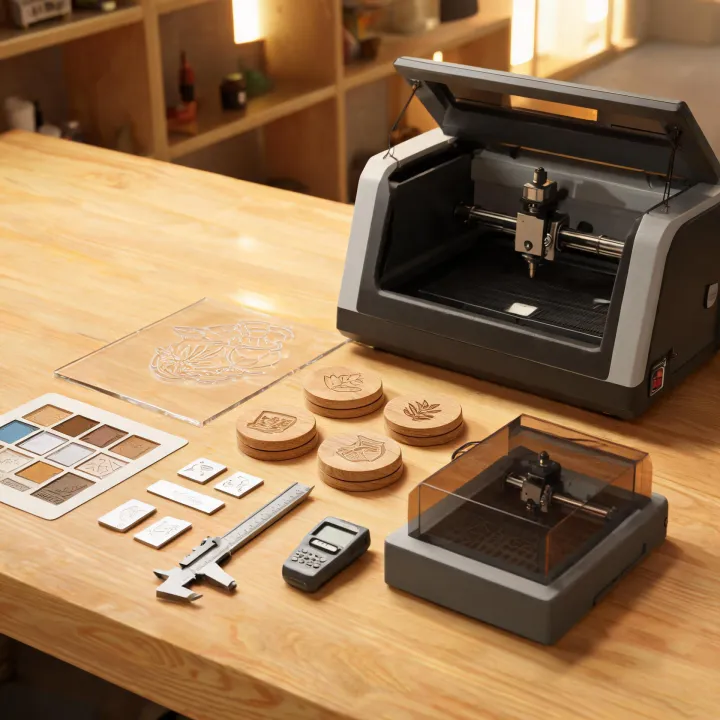
For material tests, ventilation questions, focus checks, maintenance routines, and operator handoff.
Open the resource bench →Power is only one input. Material chemistry, thickness, bed size, optics, air assist, cooling, extraction, and expected daily volume can change the sensible machine family.
Separate organic substrates, coated stock, bare metals, and unknown plastics before choosing a source.
Measure the largest real part, fixture, and loading clearance—not only the artwork dimensions.
Plan extraction, filtration, make-up air, and a safe discharge route around the actual material mix.
Define how operators will verify lens choice, focal distance, bed level, and part position at changeover.
Match the cooling method to source class, ambient conditions, duty cycle, and maintenance access.
Keep a dated sample, settings matrix, inspection note, and operator sign-off for repeatable jobs.
Share the substrate, thickness, artwork or joint, part size, expected quantity, and available utilities. We will use those inputs to frame the next machine conversation.